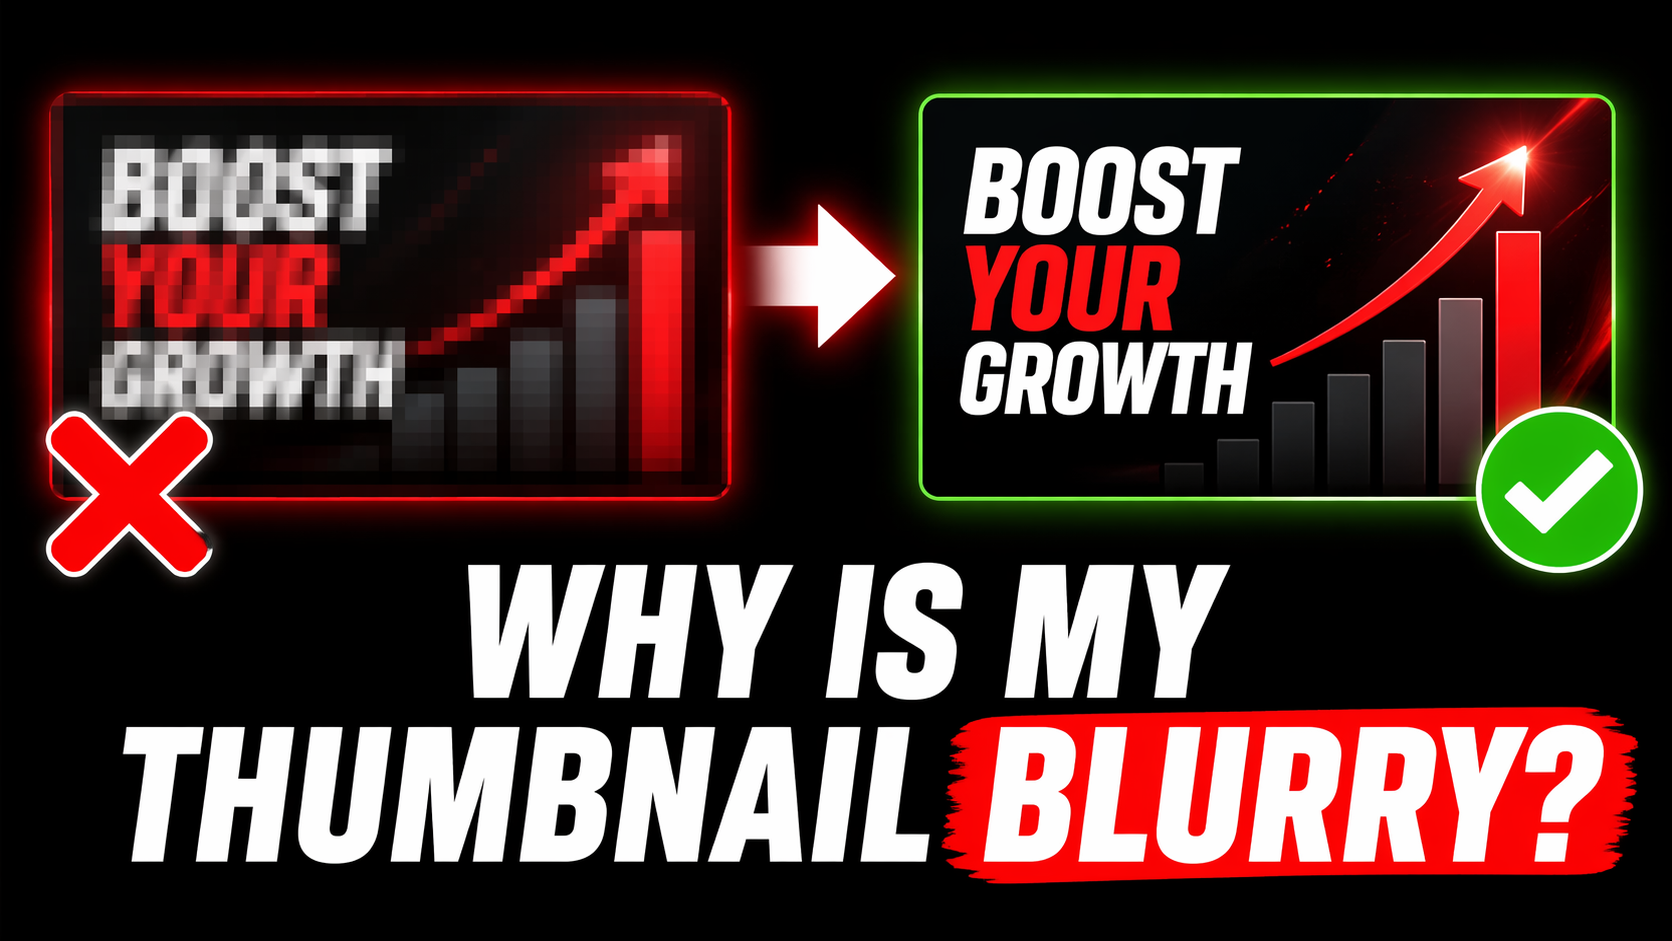
Why is My YouTube Thumbnail Blurry? Fix It Now (2026)
You just uploaded your video, opened it on YouTube, and your thumbnail looks terrible — blurry, pixelated, and unprofessional. This is one of the most common problems YouTube creators face in 2026. The good news is every single cause has a simple fix. In this guide we explain exactly why your YouTube thumbnail is blurry and how to make it crisp and sharp in minutes.
6 Reasons Why Your YouTube Thumbnail is Blurry
There are exactly 6 reasons thumbnails go blurry on YouTube. Find which one applies to you and jump straight to the fix.
This is the most common cause. If you designed your thumbnail at the wrong size — say 800×450px or 1920×1080px — YouTube will resize it. Resizing always causes blur. YouTube's thumbnail display size is based on 1280×720px and anything different gets stretched or compressed.
Even if your canvas is the right size, exporting at low quality destroys the image. Many creators accidentally export at 60% or lower quality in Canva or Photoshop. This creates compression artifacts that make your thumbnail look blurry and pixelated even before it reaches YouTube.
YouTube has a 2MB maximum file size for thumbnails. If your thumbnail file is larger than 2MB, YouTube automatically compresses it during upload — and that compression causes blurriness. This often happens with PNG files that have complex backgrounds or high-resolution photos.
When you first upload a thumbnail, YouTube needs time to process and serve it from their CDN (Content Delivery Network). During this processing time — usually 5-30 minutes — the thumbnail shows in low resolution. Many creators panic thinking their thumbnail is broken when it just needs time.
A slow or unstable internet connection during thumbnail upload can cause an incomplete or corrupted file upload. YouTube might accept a partially uploaded file and display a degraded version of your thumbnail. This is less common but does happen especially on mobile uploads.
YouTube officially accepts JPG, PNG, GIF, and BMP. However BMP and GIF formats often produce poor quality results. GIF thumbnails only show the first frame and BMP files are rarely optimized correctly. Using these formats can result in blurry or degraded thumbnails even at the right size.
🔍 Check How Your Thumbnail Actually Looks
Before re-uploading use our free preview tool to see exactly how your thumbnail will appear in YouTube search, mobile, and sidebar.
Preview My Thumbnail Free →Quick Reference — Blurry Thumbnail Fix Table
Use this table to quickly identify and fix your specific problem:
| Problem | Cause | Fix |
|---|---|---|
| Blurry on all devices | Wrong canvas size | Remake at 1280×720px |
| Pixelated / grainy | Low export quality | Export JPG at 90%+ |
| Blurry only on mobile | Image too small (under 640px) | Use minimum 1280×720px |
| Blurry right after upload | YouTube processing | Wait 15-30 mins, refresh |
| Blurry but design looks fine | File over 2MB, YouTube compressed it | Reduce file size under 2MB |
| Only blurry on YouTube, fine locally | Incomplete upload / bad connection | Delete and re-upload on WiFi |
Step-by-Step: How to Fix a Blurry YouTube Thumbnail
Follow these steps in order. Most creators fix the problem at step 2 or 3.
Step 1 — Check Your Original File
Before doing anything, right-click your thumbnail file on your computer → Properties → Details. Check the width and height. If it says anything other than 1280×720px that is your problem. You need to go back to your design tool and recreate the thumbnail at the correct size.
Step 2 — Re-Export at Correct Settings
Open your design file in Canva, Photoshop, Figma, or whatever tool you used. Export using these exact settings:
- Format: JPG (or PNG for text-heavy designs)
- Width: 1280 pixels
- Height: 720 pixels
- Quality: 90-100%
- File size: Check it is under 2MB after export
Step 3 — Delete the Old Thumbnail on YouTube
Go to YouTube Studio → Content → click your video → Edit → Thumbnail section. Remove the current blurry thumbnail. Do not just replace it — delete the old one first to force YouTube to clear the cached version.
Step 4 — Upload the New Fixed Thumbnail
Upload your newly exported thumbnail. Make sure you are on a stable internet connection — use WiFi not mobile data. Wait for the upload progress bar to complete fully before saving.
Step 5 — Clear Cache and Wait
After uploading the new thumbnail, wait 15-30 minutes then hard refresh the page. On desktop press Ctrl+Shift+R (Windows) or Cmd+Shift+R (Mac). On mobile clear your browser cache or use a different browser to check. YouTube CDN takes time to serve the new version globally.
How to Check Thumbnail Quality Before Upload
One of the best habits you can develop is checking how your thumbnail actually looks before uploading. Here is how to do it:
- Zoom out to 10% in your design tool — this simulates how it looks on a mobile phone. If your text is unreadable at this size, viewers won't be able to read it in search results either.
- Use the Preview Tool — paste your YouTube video URL or upload your thumbnail image at YTThumbnailGrabs Preview Tool to see it in realistic YouTube placements before uploading.
- Check file size — right-click the exported file → Properties → check Size is under 2MB. If over 2MB, re-export as JPG at 85% quality.
- View on mobile — send the image to your phone and view it at actual mobile screen resolution. This is the most accurate test since over 75% of YouTube views happen on mobile.
Can I Fix a Blurry Thumbnail Without Re-Uploading the Video?
Yes — you do NOT need to re-upload your video to fix a blurry thumbnail. Your video, all its views, comments, and watch time are completely safe. Here is exactly how to change a thumbnail without re-uploading:
- Go to studio.youtube.com
- Click Content in the left sidebar
- Find your video and click the pencil edit icon
- Scroll down to the Thumbnail section
- Click Upload thumbnail
- Select your new correctly sized thumbnail file
- Click Save in the top right corner
That is it. Your video keeps all its data and your new crisp thumbnail will be live within 30 minutes.
⬇️ Download Any YouTube Thumbnail in HD
Want to study how top creators make their thumbnails look crisp and clear? Download any YouTube video thumbnail in Full HD for free — no login needed.
Download Thumbnails Free →Frequently Asked Questions
📖 Related Guides
- ⬇️ Download Any YouTube Thumbnail in HD — Free Tool
- 🔍 Preview Your Thumbnail Before Uploading — Free Tool
- 🚀 How to Make YouTube Thumbnail Get More Clicks in 2026
- 🎨 Best YouTube Thumbnail Background Colors That Get Clicks
- 💡 YouTube Thumbnail Ideas for Beginners 2026
- 🛠️ How to Make YouTube Thumbnail Without Canva — 5 Free Tools
- 🎬 Can You Upload Custom Thumbnail for YouTube Shorts?