How to Make a YouTube Thumbnail Go Viral in 2026 — Proven Formula
There is a reason why some YouTube thumbnails get millions of clicks while identical videos with bad thumbnails get ignored. It is not luck. It is not about having a huge channel. It is a formula — and once you understand it, you can apply it to every video you make. This guide breaks down the exact 8-element formula that the biggest creators on YouTube use to make thumbnails that go viral in 2026.
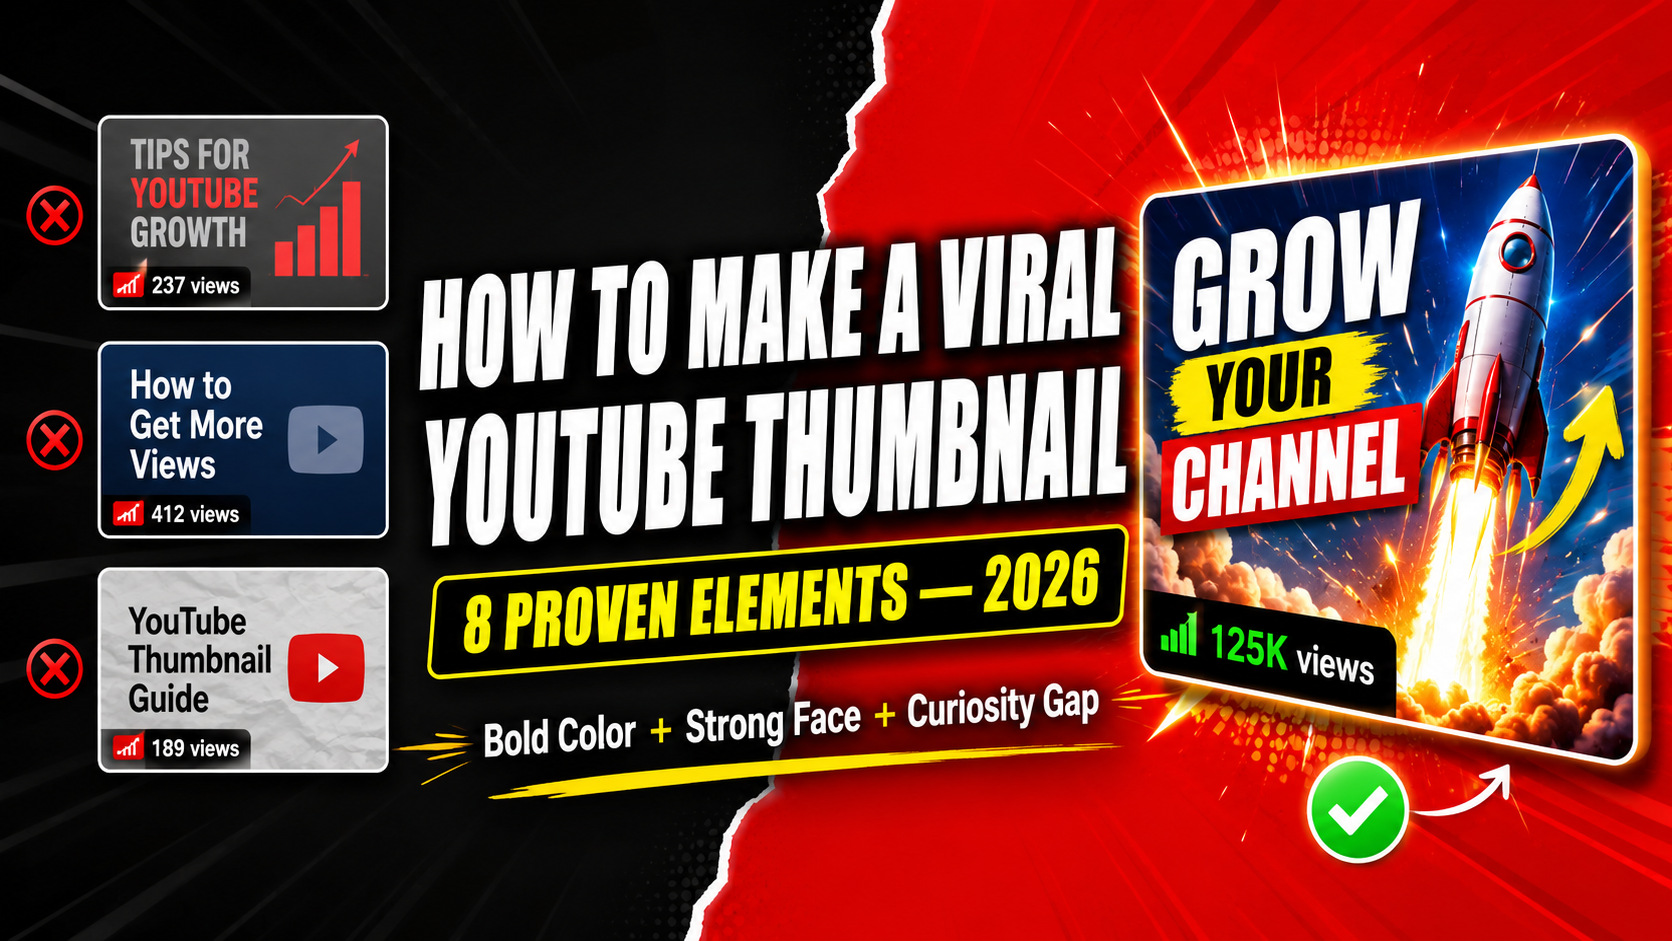
+ Clear Focus + Right Size + Mobile Test + Preview First
Most creators get 2 or 3 of these right. The top creators get all 8 right consistently. Let us go through each one in detail so you can apply them to your next video today.
The 8 Elements of a Viral YouTube Thumbnail
Bold Background Color That Pops
Your background color is the first thing a viewer's eye notices — even before reading text or seeing a face. The color needs to create instant contrast against YouTube's white interface. This is why the most clicked thumbnails use bright yellows, bold reds, electric blues, and deep blacks rather than soft pastels or white backgrounds.
MrBeast built his empire partly on yellow thumbnails. They stand out in every feed because yellow is psychologically associated with excitement and energy and it pops dramatically against white. Whatever your niche, pick one dominant background color and use it consistently across your channel.
Human Face With Extreme Emotion
The human brain has dedicated neural pathways for processing faces. We notice faces faster than any other visual element — in under 100 milliseconds. This is an evolutionary instinct and it works powerfully in your favor when designing thumbnails.
But not just any face. The emotion needs to be strong and readable at small sizes. A gentle smile does nothing. Shock, pure joy, disbelief, extreme excitement, or fear — these are the emotions that make viewers stop scrolling. They want to know what caused that reaction.
Look at the thumbnails of the biggest channels — Sidemen, MrBeast, Marques Brownlee, Kwebbelkop. Every single one uses exaggerated facial expressions on the most successful videos. This is not a coincidence.
Short Bold Text — Maximum 5 Words
Text on thumbnails serves one purpose — to create additional curiosity or urgency that the image alone does not convey. It is not a title repeat. It is not a description. It is a 5-word hook that adds something new.
On a mobile search result your thumbnail appears at roughly 160×90 pixels. At that size only large bold text is readable. If your text has more than 5 words or uses a thin font, it becomes an unreadable blur that adds nothing to your thumbnail.
👁️ See How Your Thumbnail Actually Looks to Viewers
Test your thumbnail in mobile search, desktop results, sidebar, and Shorts feed before uploading. Free — no login needed.
The Curiosity Gap Between Thumbnail and Title
This is the most powerful psychological tool in thumbnail design and the one most creators completely miss. The curiosity gap is the space between what the viewer knows and what they want to know. Your thumbnail and title should each give half the story — never the full story.
When viewers see your thumbnail and title together they should feel like they are missing a critical piece of information that they can only get by clicking and watching. This tension between knowing some but not all creates an almost irresistible urge to click.
Thumbnail text: "Lost 10kg in 30 Days"
Result: viewer knows everything, no reason to click
Thumbnail: shows shocked face + "THE RESULTS"
Result: viewer must click to find out what happened
One Clear Focal Point — No Clutter
The biggest mistake amateur thumbnails make is trying to show too much. Multiple faces, multiple text blocks, multiple graphic elements — all fighting for the viewer's attention. The result is that the eye does not know where to look and moves on.
Every successful viral thumbnail has one dominant focal point. One face. One object. One moment. Everything else in the thumbnail supports that single focal point rather than competing with it. Simplicity is not a limitation — it is a superpower.
Perfect Technical Specs — 1280×720px Under 2MB
A viral thumbnail needs to look sharp and professional. Blurry, pixelated, or stretched thumbnails signal low quality to viewers before they even read the title. YouTube shows thumbnails across many different screen sizes and resolutions — a correctly sized image looks crisp everywhere.
Upload at exactly 1280×720 pixels. Export as JPG at 90% quality. Keep the file under 2MB. If your file is over 2MB YouTube compresses it automatically and that compression causes visible quality loss that makes your thumbnail look amateur.
The Mobile 10% Zoom Test
Over 75% of YouTube views happen on mobile phones in 2026. On a mobile screen your thumbnail is tiny — roughly the size of a matchbox. Most creators design thumbnails on large desktop monitors and never check how they look on mobile. This is why so many thumbnails fail.
The 10% zoom test is simple but powerful. After finishing your thumbnail design, zoom out to 10% of its actual size. This simulates how it looks in a mobile search result. If you cannot read the text or identify the face clearly at 10% zoom — your thumbnail will underperform on mobile.
Always Preview Across All YouTube Placements
YouTube shows your thumbnail in at least 4 different placements — mobile search results, desktop search results, sidebar recommendations, and the Shorts feed. Each placement has a different size and context. A thumbnail that looks great in one placement can look terrible in another.
Previewing before upload takes under 2 minutes and has saved countless creators from going live with a thumbnail that looks broken on mobile or has text cut off in the sidebar view. It is the professional standard that separates serious creators from casual ones.
What Top YouTube Creators Do Differently
Studying what works for the biggest channels gives you a massive shortcut. Here are the thumbnail patterns that consistently go viral across different niches:
Notice that every niche follows the same core formula — bold background, clear focal point, minimal text — just adapted for the visual language of that niche. Study the top 10 videos in your niche by downloading their thumbnails and identifying the pattern. Then make something that fits the pattern but stands out from it.
Your Step by Step Viral Thumbnail Process
Here is the exact workflow to apply all 8 elements every time you create a thumbnail:
Research your niche first
Search your video topic on YouTube. Download the top 10 thumbnails using the free YTThumbnailGrabs Downloader. Identify the common colors, face expressions, text styles, and layouts that dominate your niche.
Choose your background color
Pick one bold background color that contrasts with YouTube's white interface AND stands out from the dominant colors in your niche research. This is your first attention hook.
Take your thumbnail photo
Take a dedicated high-resolution photo with an extreme emotion relevant to your video. Do not pull a frame from the video. Good lighting, clear expression, and a simple background behind you work best.
Design in Canva at 1280×720px
Open Canva. Create custom size 1280×720px. Add your background color, your photo, and your 3-5 word bold text. Keep it simple. One focal point only. Remove anything that does not serve the main story.
Do the 10% zoom test
Zoom out to 10% in Canva. Check that text is readable and face expression is visible. If anything is unclear at small size — make it bigger, bolder, or simpler.
Export correctly
Download as JPG at maximum quality. Check file size is under 2MB. If over 2MB compress it or reduce quality slightly to 85%.
Preview across all 4 placements
Go to YTThumbnailGrabs Preview Tool. Upload your thumbnail. Check mobile search, desktop search, sidebar, and Shorts feed. Fix any issues you see.
Upload and track CTR
Upload the thumbnail in YouTube Studio. After 48 hours check CTR in Analytics under Reach. If CTR is below 3% redesign and test a new version. Keep testing until you hit above 5%.
How Long Should You Spend on a Thumbnail?
This is a question every creator asks and the honest answer surprises most people. For a regular video, 20-45 minutes on the thumbnail is appropriate. For a video you expect to perform well, spending 1-2 hours is justified.
Think about it mathematically. If you spend 40 hours making a high-quality video and it gets 1,000 views because of a bad thumbnail — that is 40 hours of work getting terrible returns. If you spend an extra 45 minutes on the thumbnail and it improves CTR from 2% to 7%, you could go from 1,000 views to 3,500 views from the same video. That extra 45 minutes is worth more than the 40 hours of video production.
Top creators understand this. They spend disproportionate time on thumbnails because they know the thumbnail determines the ceiling on how many people will ever see the video. No matter how good your content is, a bad thumbnail caps your views at a fraction of what they could be.
How to Test Different Thumbnail Versions
YouTube does not have a built-in A/B testing tool for thumbnails available to all creators. But you can manually test thumbnails using this approach:
- Upload your video with Thumbnail Version A
- Track CTR over 48-72 hours in YouTube Studio Analytics
- If CTR is below 3% design Thumbnail Version B with one significant change
- Replace the thumbnail in YouTube Studio without re-uploading the video
- Track CTR for another 48-72 hours
- Keep whichever version performs better
One change at a time is important. If you change background color AND text AND face expression at the same time you cannot identify which change caused the improvement. Change one element, measure the result, then change another element based on what you learn.
🚀 Put the Formula to Work Right Now
Preview your thumbnail across all YouTube placements before upload — then download competitor thumbnails to see what works in your niche. Both tools are completely free.
Frequently Asked Questions
📖 Related Guides
- 👁️ Preview Your Thumbnail Before Upload — Free Tool
- ⬇️ Download Any YouTube Thumbnail in HD — Free Tool
- ❌ 10 YouTube Thumbnail Mistakes That Kill Your Views
- 🎨 Best YouTube Thumbnail Background Colors 2026
- 🚀 How to Make YouTube Thumbnail Get More Clicks
- 💡 YouTube Thumbnail Ideas for Beginners 2026
- 🔍 Why is My YouTube Thumbnail Blurry? Fix Guide